Care and Maintenance
Assembly
|
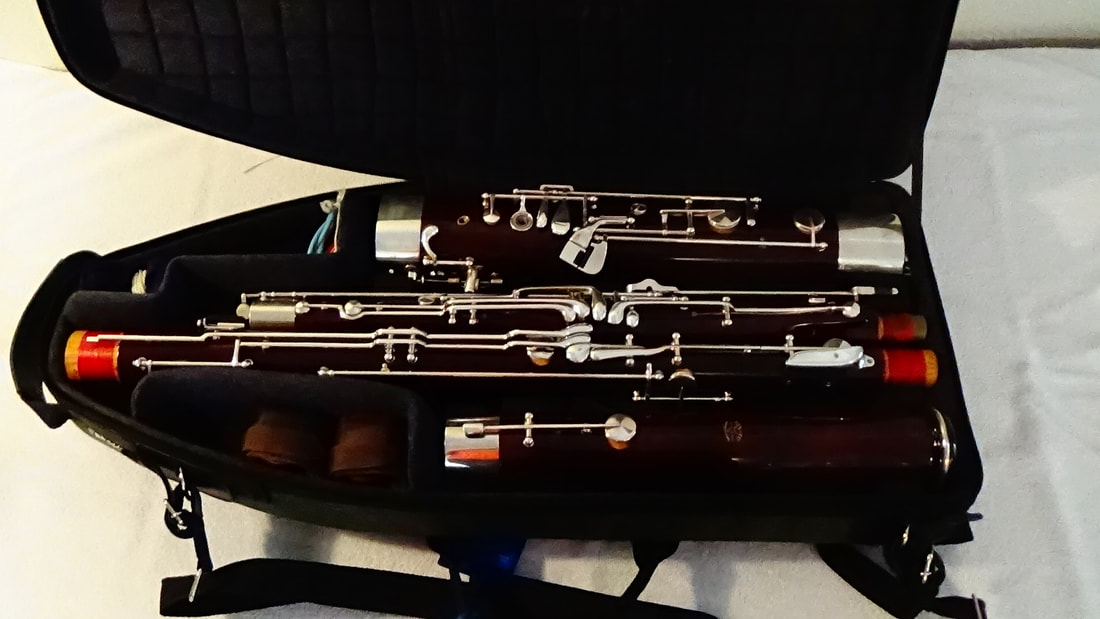
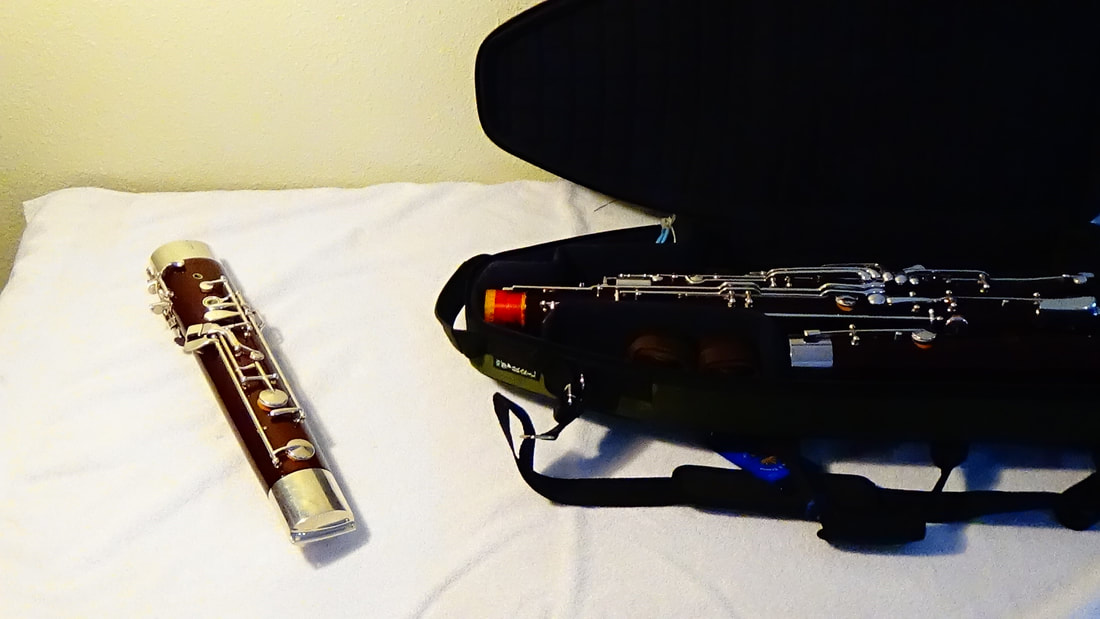
As a note for young bassoonists, it's always a good idea to take a picture of your bassoon in the case. If you have a reference as to which pieces go where, it will save you some precious time!
|
|
Below are four pictures of the different parts of a bassoon along with their proper names:
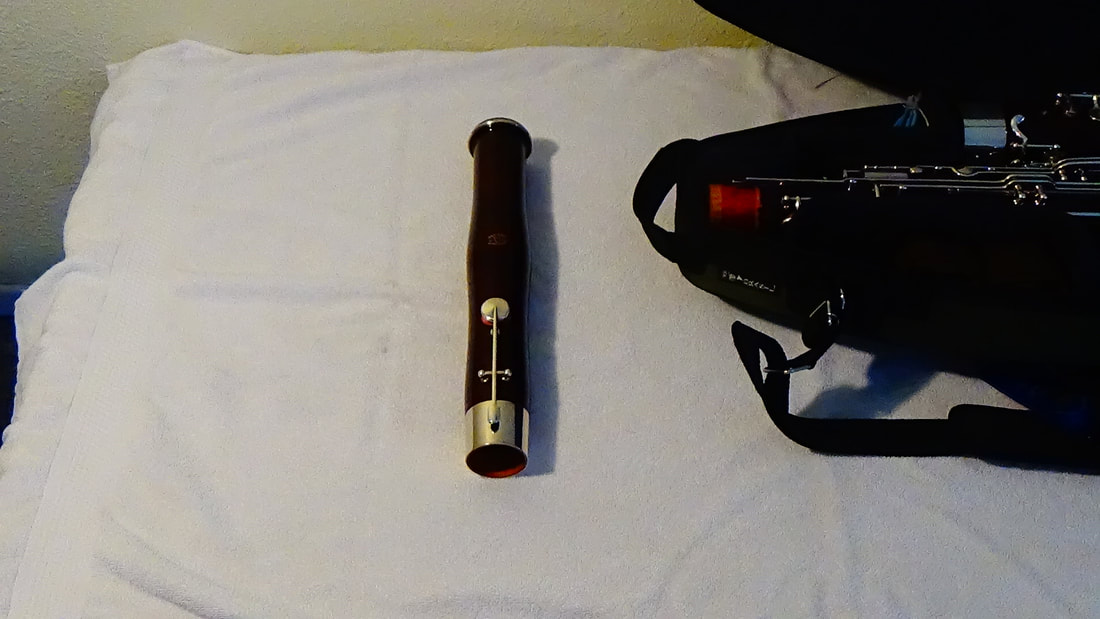
The Bell
|
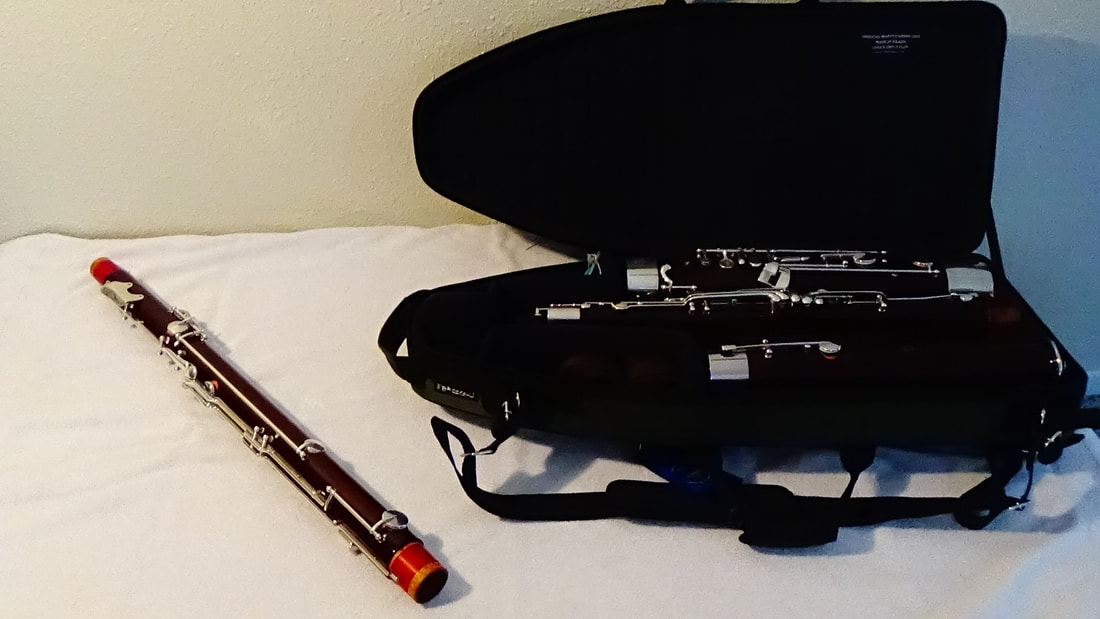
The Bass Joint
|
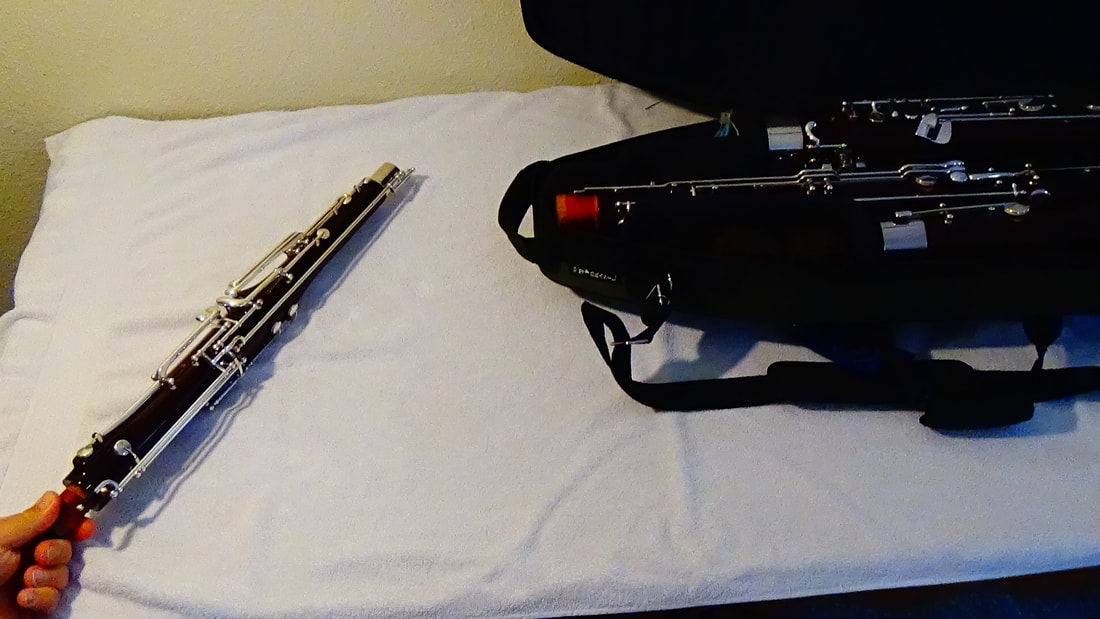
The Wing Joint
|
The Boot Joint
|
Additional parts:
|
The Double Reed
|
The Bocal
|
The Seat Strap
|
Now that we know what each part is called, let's see how the parts fit together!
|
As you are attaching segments together, look at the boot joint. The smaller hole will accept the wing joint while the larger hole will take the bass joint.
|
Step 1: Attach the boot joint and the wing joint, then place the two parts safely on a flat surface.
Step 2: Attach the bass joint and the bell.
Note: you have to press the top key on the bell to assist in easy assembly and prevent key damage. (Pictured above right)
Step 3: Attach the bass joint/bell and the wing joint/boot. Once the halves are attached using firm, downward pressure, don't forget to lock the joints!
Posture
Seated Posture
Troubleshooting